




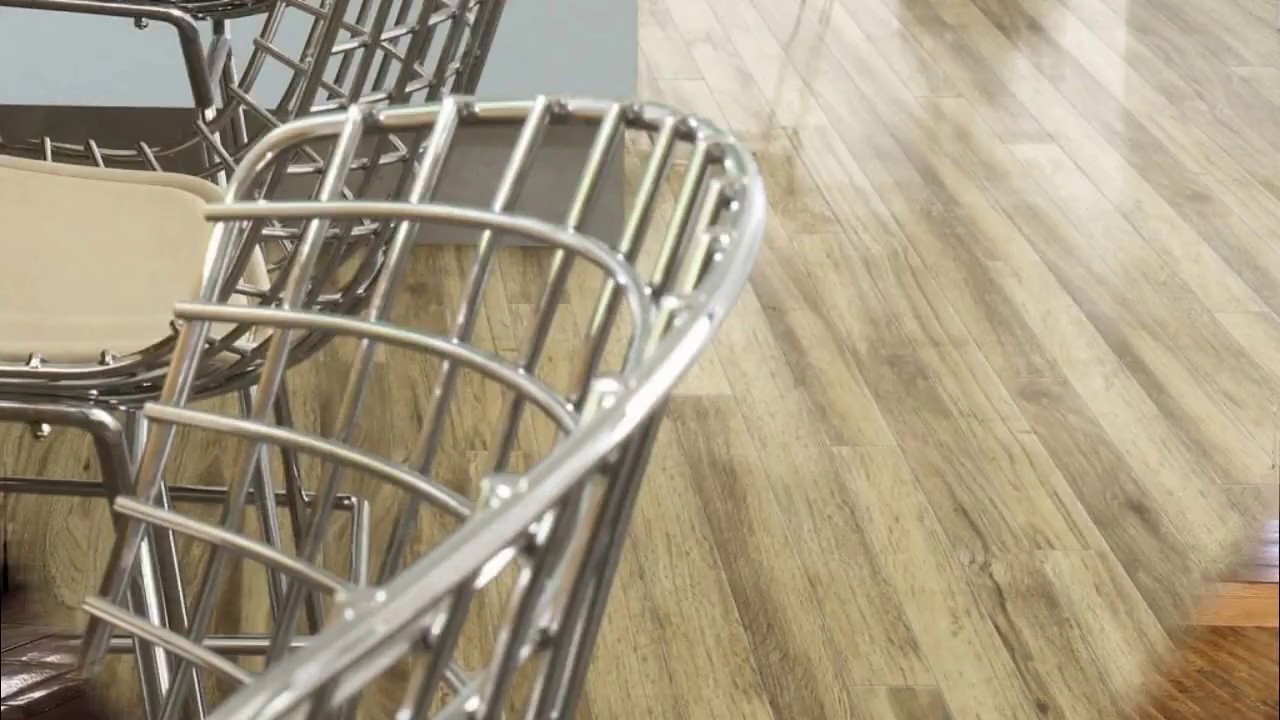
Installing laminate flooring may seem intimidating at first, but with the right tools and guidance, even beginners can achieve professional-looking results. In this article, we will walk you through how to install laminate flooring: step-by-step tips for beginners, from preparation to finishing touches.
Why Choose Laminate Flooring?
Laminate flooring is a popular choice for homeowners because it is durable, affordable, and easy to maintain. Unlike traditional hardwood, laminate can mimic the appearance of wood, stone, or tile, providing a stylish look without the high cost.
Tools and Materials You’ll Need
Before you start, gather the necessary tools and materials:
- Laminate flooring planks
- Underlayment
- Tape measure
- Spacers
- Rubber mallet
- Saw (hand saw or circular saw)
- Pull bar and tapping block
Having everything ready will make the installation process smoother and more efficient.
Step 1: Prepare Your Floor
Begin by cleaning the subfloor thoroughly. Remove any old flooring, nails, or debris. Ensure the floor is level, dry, and free of any moisture. This step is crucial because laminate flooring requires a flat and stable base to prevent gaps or uneven wear.
Step 2: Install the Underlayment
Roll out the underlayment according to the manufacturer’s instructions. The underlayment provides cushioning, reduces noise, and helps protect against moisture. Make sure the seams are taped securely and that there are no gaps.
Step 3: Start Laying the Laminate
Now it’s time for the main step. Place spacers along the walls to maintain an expansion gap (usually about 1/4 inch). Begin laying the first row of laminate planks, clicking them together according to the design. Stagger the seams for a more natural appearance.
Step 4: Continue Installation
Continue laying additional rows, using a tapping block and rubber mallet to ensure a snug fit. Measure and cut the last plank of each row to fit using a saw. Keep in mind the expansion gap along the walls.
Step 5: Finishing Touches
Once all planks are installed, remove the spacers and install baseboards or molding to cover the expansion gaps. Inspect the floor for any gaps or misaligned planks and make adjustments as necessary.
Tips for Beginners
- Take your time: Rushing can lead to mistakes.
- Measure twice, cut once: Proper measurements prevent wasted materials.
- Use proper tools: A tapping block and pull bar make the process easier and prevent damage.
- Work in small sections: This helps maintain alignment and reduces errors.
Conclusion
Learning how to install laminate flooring: step-by-step tips for beginners can save you money and give your home a fresh new look. By preparing properly, following the steps carefully, and taking your time, you can achieve a durable and beautiful floor that lasts for years.
